
이번에 vCenter 7.0 버전으로 서버를 설치를 해야할꺼같아 vmware workstation 한대에 설치를 해보았습니다.
우선 vCenter Server 가 뭐냐하면…. 저보다 더 잘 아시겠지만..

ESXi 한두개 운영 할 때에는 크게 필요없지만…
100개 이상 1,000개 이상 단위로 운영 할 때에는 위의 이미지를 보시는것처럼 관리에 최적화 된 서비스입니다.
막상 vmware 사에 적힌 내용만 볼 때에는 단순 ESXi 만 100개 이용해도 될듯합니다.
만개정도되면 분위기가 달라지겠죠. ㅎㅎ
vmware 에서 제공하는 [ VMware-VCSA-all-7.0.3-19717403.iso ] 파일을 열어보면 OFV 파일이 있습니다.
VMware-vCenter-Server-Appliance-7.0.3.00600-19717403_OVF10
이 파일을 ESXi 호스트에 등록하여도 되며 vmware workstation 버전에 등록하여도 됩니다.
제 경우에는 워크스테이션에 등록하였습니다.
처음에 ESXi 에 등록도 몇번 해보았는데 IP세팅이라던지 DNS 없이 등록 시도를 해서 그런지 업로드가 안되더군요.
vCenter 7.0 Server 설치
1. OVF 파일을 등록합니다.
VMware-vCenter-Server-Appliance-7.0.3.00600-19717403_OVF10 파일을 ISO 파일에서 추출하여 ESXi 혹은 VMWARE workstation 에 등록합니다.
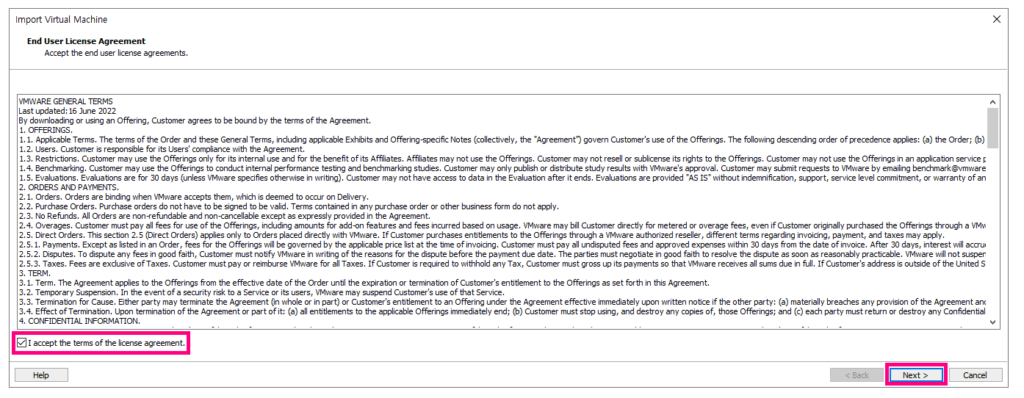
일단계를 진행하게되면 단순히 OVF 파일 클릭만 하고 NEXT -> NEXT -> 이름적고 -> 동의 두번 하면 설치됩니다.
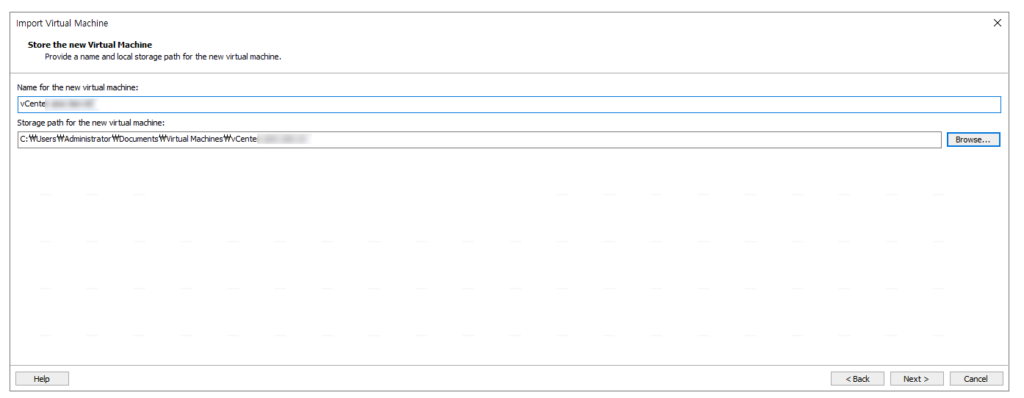
설치 폴더 지정과 생성 이름을 만들어줍니다.
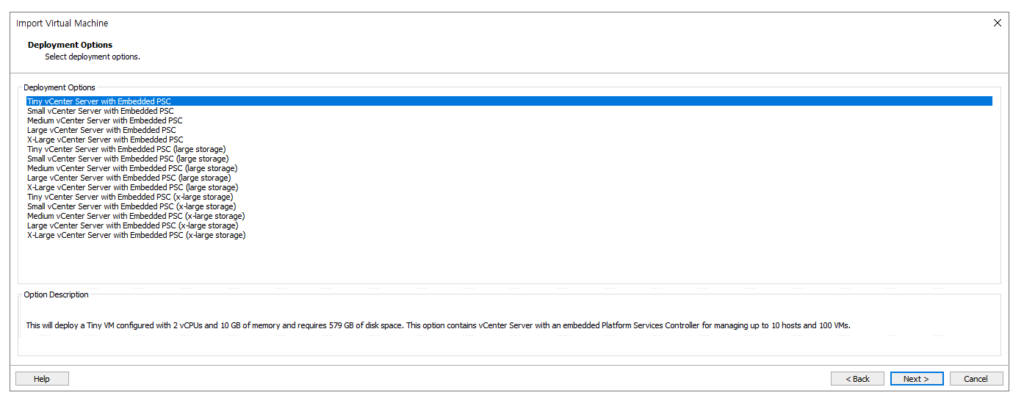
Tiny vCenter Server with Embedded PSC
Small vCenter Server with Embedded PSC
Medium vCenter Server with Embedded PSC
Large vCenter Server with Embedded PSC
X-Large vCenter Server with Embedded PSC
이렇게 vCPU 별로 규모가 다르게 나타납니다.
스토리지도 (기본, 라지, X라지) 이렇게 3가지 항목이 있어 총 15가지 중 하나를 선택하면됩니다.
호스트 100개 그리고 1,000VMs 구성에 적합한 [ Small vCenter Server with Embedded PSC ] 항목으로 진행합니다.
최소 vCPU는 4개 (쿼드 cpu)이상이며 메모리는 16GB 이상이라고 나오지만 실제로 19GB로 세팅됩니다.
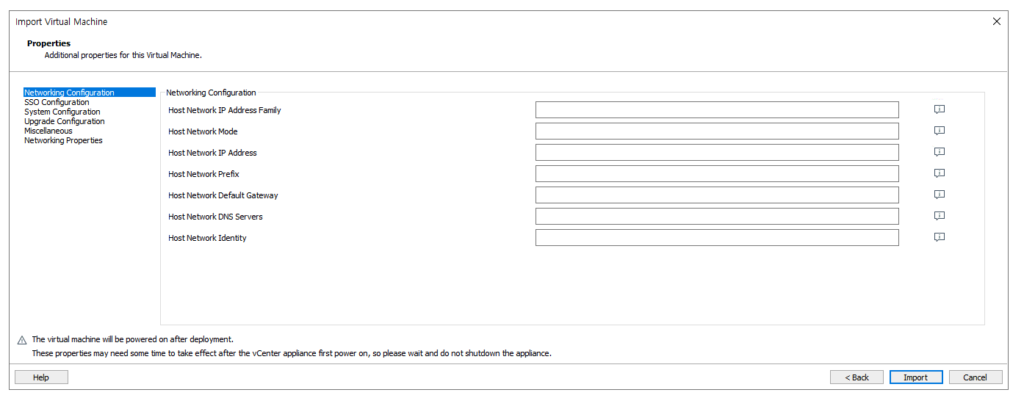
네트워크 환경 부터 DNS 서버 정보까지 입력해야합니다.
Domain 을 세팅했다면 정방향/ 역방향 모두 연결되도록 설정 해야합니다.
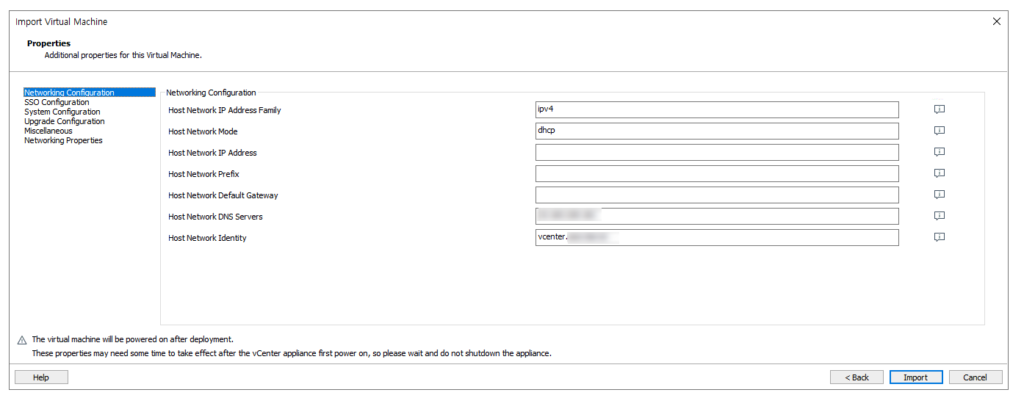
다 설치가 되어 ESXi 메인 화면처럼 이렇게 나타납니다.
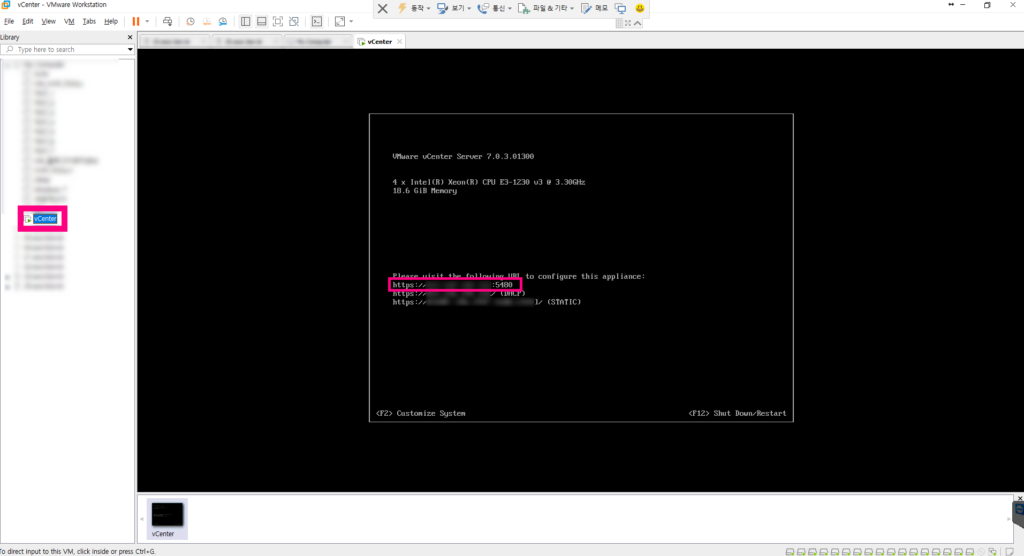
2. vCenter 접속하여 2단계 설치를 진행합니다.
vCenter할당받은 IP로 접속을 하면 세팅이 안되어서 그런지 접속이 안되더군요.
그래서 아래처럼 :5480 포트로 접속하면 다시 설치랑 업그레이드 등등 화면이 나타납니다.
https://vCenter 할당받은 IP:5480/configurev2/#/

설치 항목을 누르고 vCenter 관리자 암호를 입력하면 2단계 항목을 진행 할 수 있습니다.
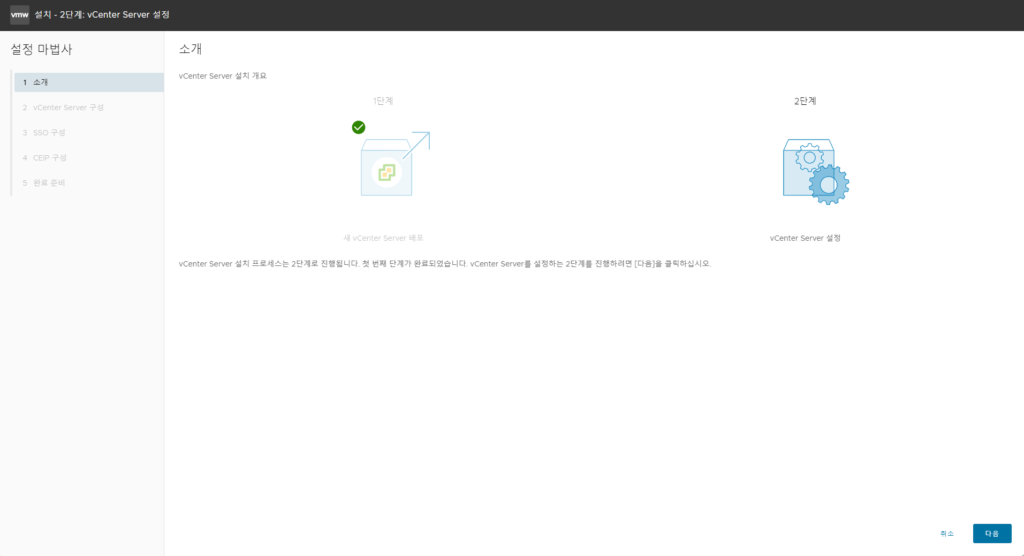
다음 항목을 누르면
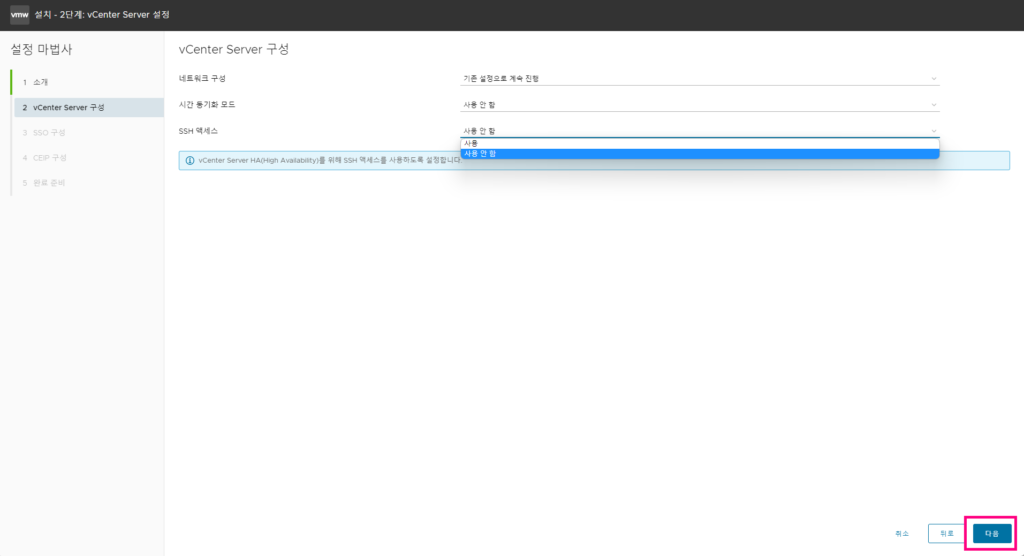
ESXi 서버 위에 설치가 되다보니 시간 동기화모드에 ESXi 호스트 시간 동기화 항목도 보이는군요.
아래처럼 설정하였습니다.

3. SSO 구성 항목을 입력합니다.
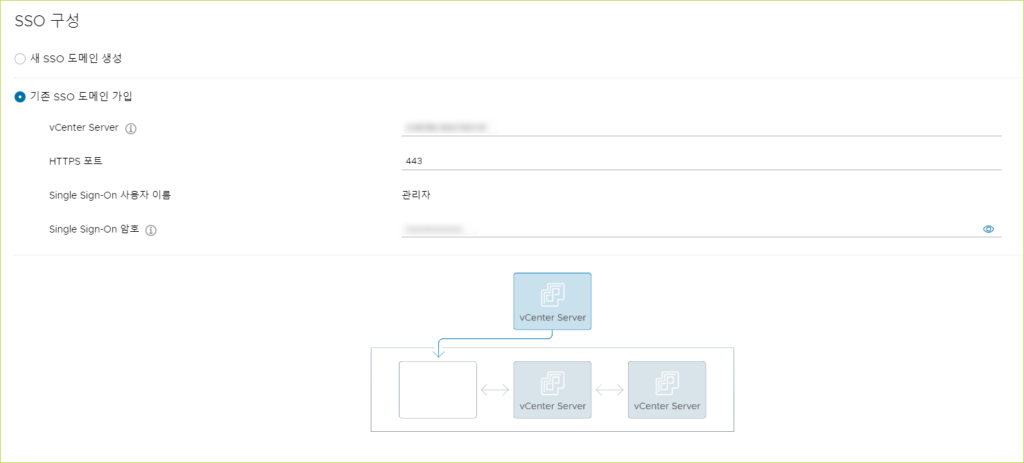
도메인을 등록합니다.
보통은 여기에서 사설 도메인을 만드는 경우가 많은데.. 저는 그냥 외부에서 공식 접근 할 수 있도록 도메인을 사용했습니다.
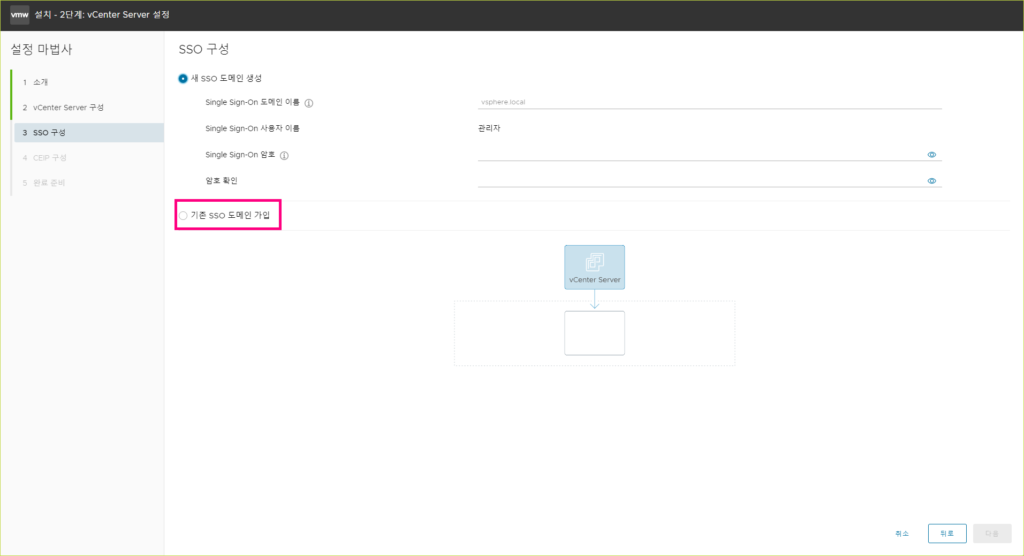
도메인과 관리자 암호를 적고 다음 버튼을 눌러줍니다.
만약 이때 도메인이 등록되지 않거나 DNS 등록이 안된 상태라면 아래처럼 에러 메시지와 함께 진행이 되지 않죠.
Failed to retrieve SSO domain from host '****.myDomain.com': [Error 10002] Server Unreachable
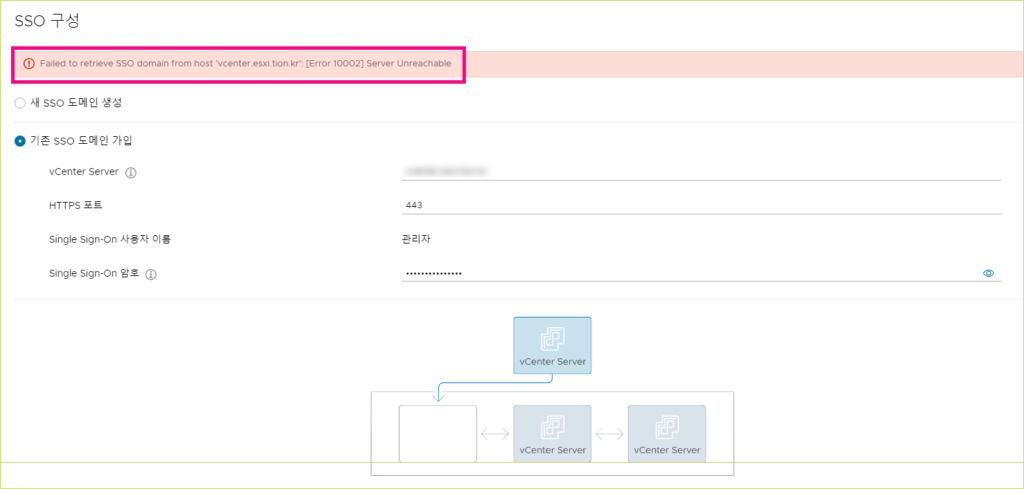
말 그대로 도메인으로 서버에 도착할 수 없다는 이야기입니다.
DNS 에 도메인이 제대로 동작하지 않거나 도메인으로 IP를 찾을 수 없으니 vCenter DNS를 지정해줍니다.
아래는 KT DNS 주소가 적혀있습니다.
168.126.63.1
168.126.63.2
이 두개의 항목을 자신의 DNS 주소로 변경합니다.

이때 운영하는 DNS 주소가 없다면 아래 vCenter DNS 무료 서비스를 이용하면 됩니다.
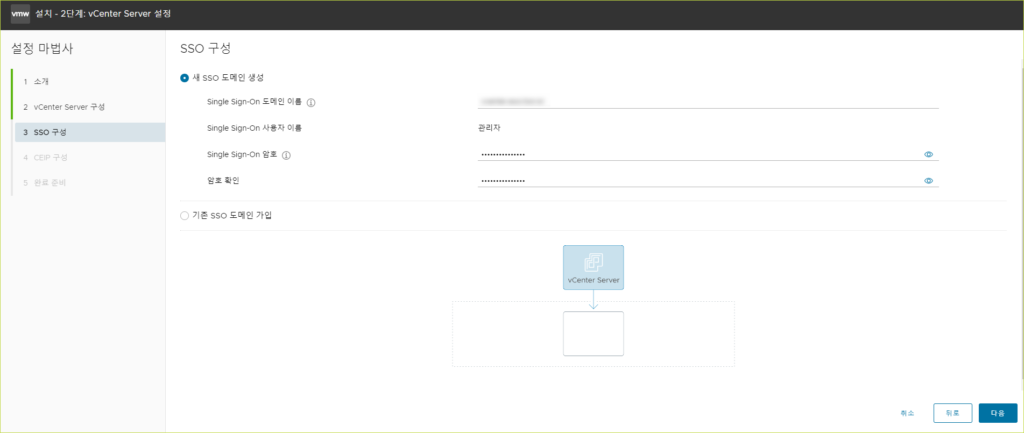
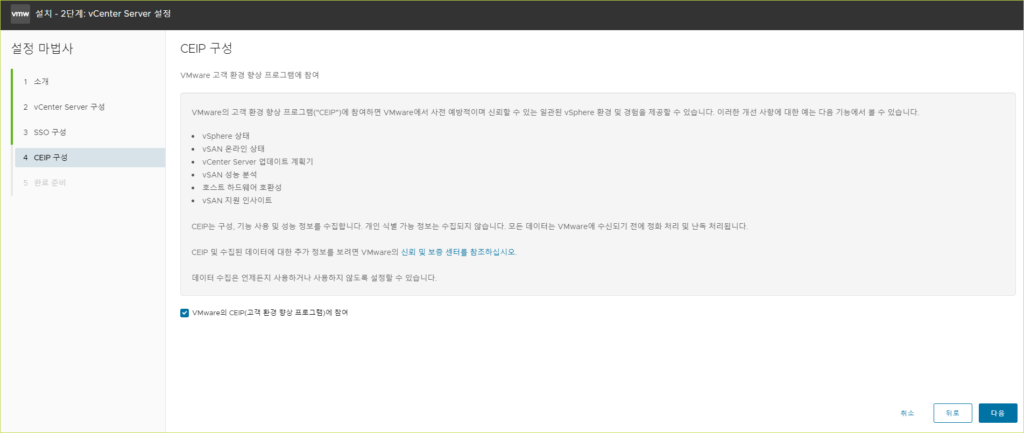
CEIP 구성 참여 체크 (선택사항) 하고 다음 항목을 클릭하면 최종 화면이 나타납니다.
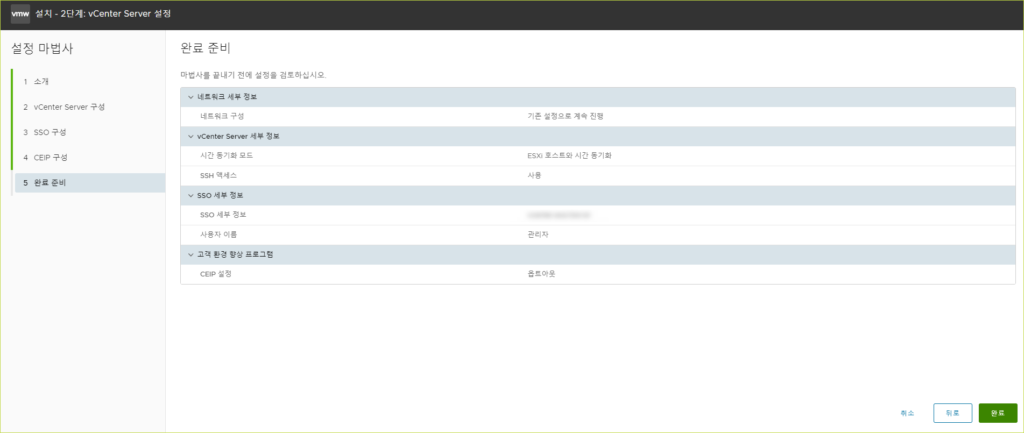
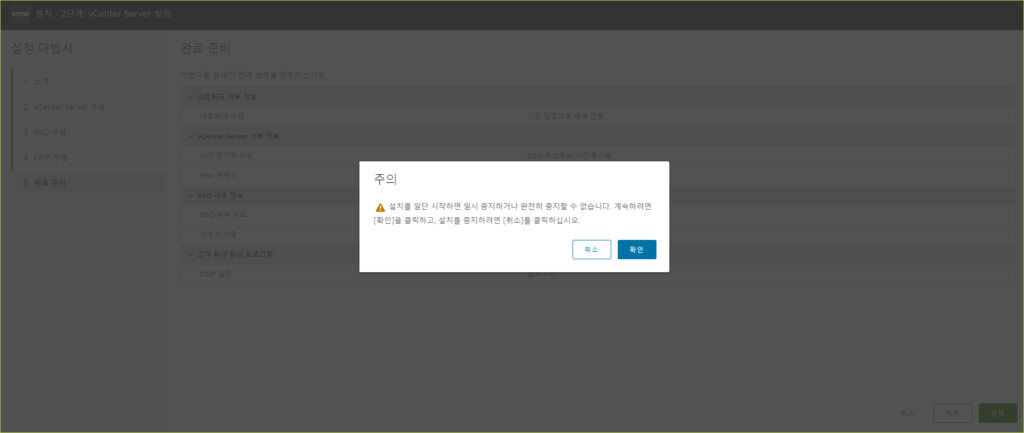
확인 버튼을 누르면 2단계 진행이 시작됩니다.
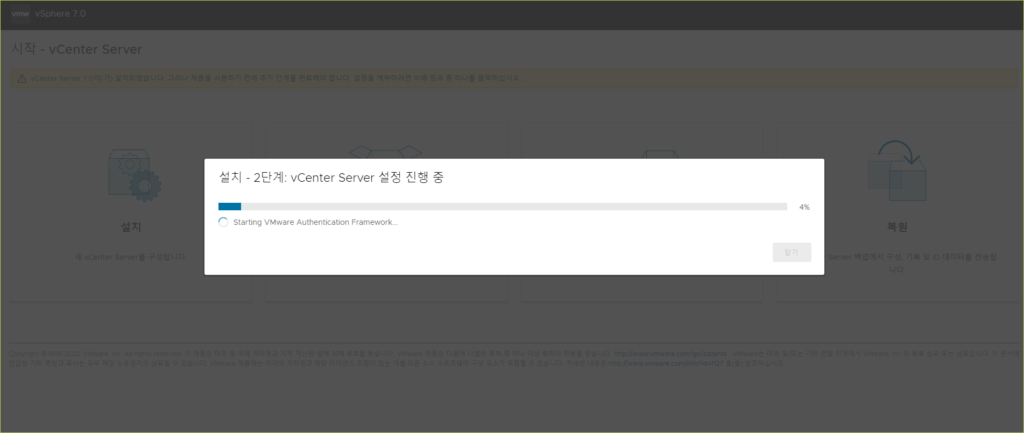
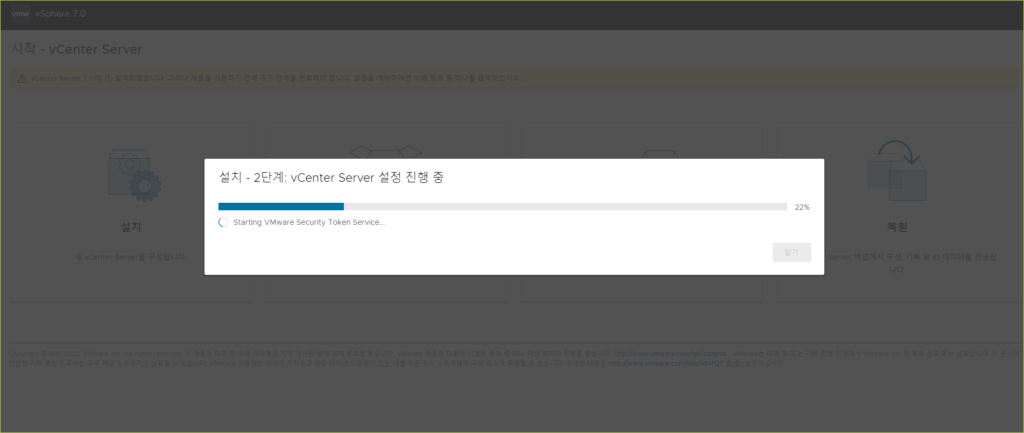
만약 [ 설치 – 2단계: vCenter Server 설정 진행 중 ] 22% 항목에서 [ Starting VMware Security Token Service… ] 메시지 와 함께 진행이 되지 않는다면 DNS 서버에 도메인에 대해서 역방향 IP 값이 지정되지 않았기때문입니다.
IP를 입력했을때 FQDN (도메인) 연결이 되도록 PTR 한줄을 넣으면 됩니다.
당연히 역방향 rev.zone 파일을 만들어야합니다.
@ IN PTR 도메인주소.confirm that forward and reverse name resolution works for the vCenter Server’s FQDN, and IP address
CMD에서 nslookup 도메인 입력했을때 나오는 IP 주소가 nslookup IP 주소를 넣었을때도 동일하게 나와야합니다.

정방향으로 도메인이 잡혀있지만 역방향으로 도메인을 찾을 수 없기때문에 이 항목에서 멈추게 됩니다.
22% 보안 단계를 넘어가신 분들은…
퍼센테이지가 야금야금 올라가는 것을 볼 수 있습니다. (시간이 조금 많이 소요되긴 합니다)
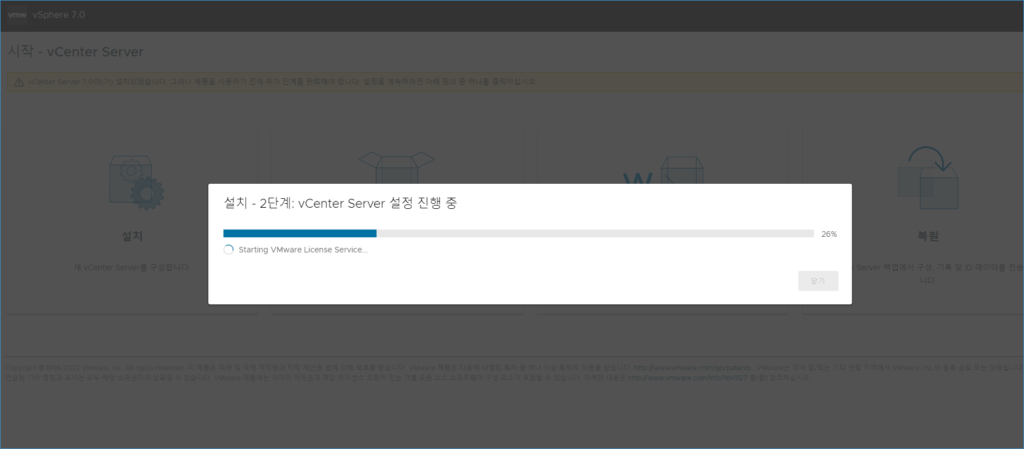
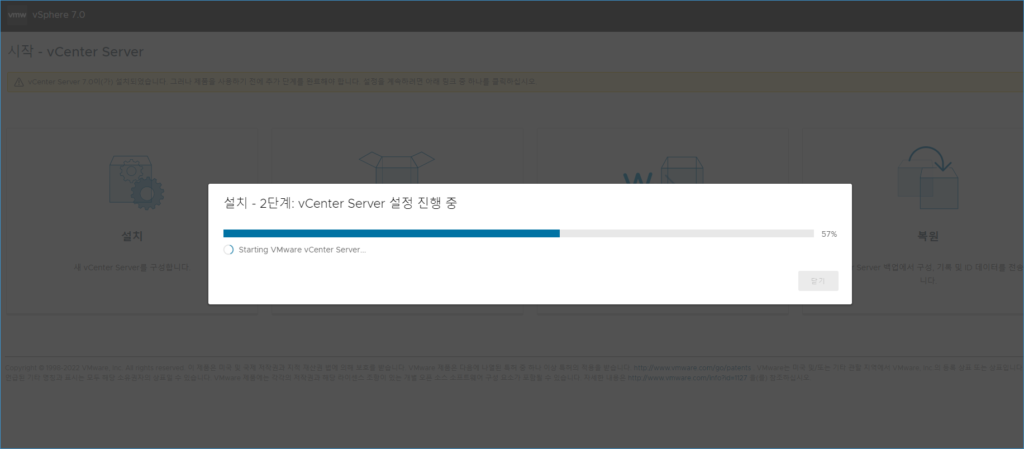
설치 – 2단계: vCenter Server 설정 진행 중 61% 에서 멈춘듯 가만히 서 있더군요. (10분정도? 그정도….)
그리고는 알아서 진행되면서 넘어갔습니다.
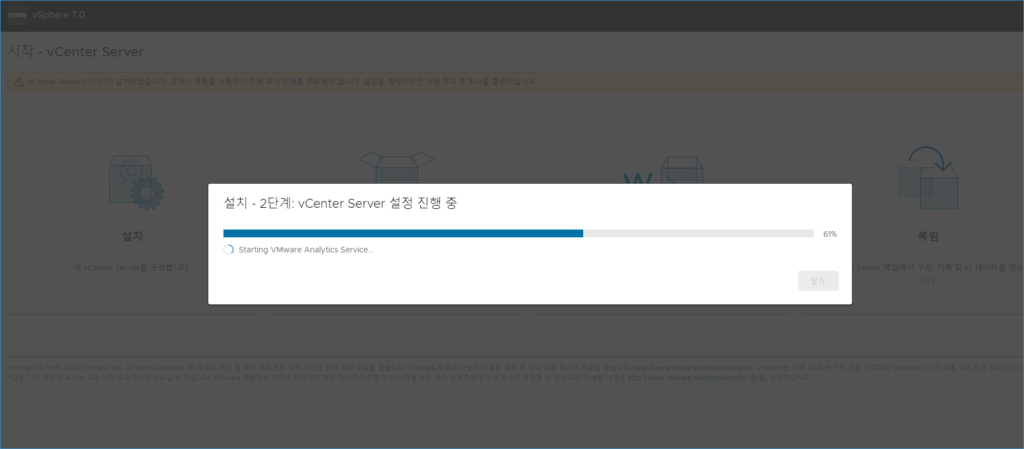
처음에 멈춘건가 싶어서 …
혹시 로그아웃 된거 아닌가 같어서 로그인 해줄려고 다른 창으로 접속하니 아래처럼 뜨더군요.

그리고 메인 창은 아래처럼 뜨면서 멈췄습니다.
오류
Failed to configure Workload Control Plane
해결 방법
This is an unrecoverable error, please retry install. If you encounter this error again, please search for these symptoms in the VMware Knowledge Base for any known issues and possible resolutions. If none can be found, collect a support bundle and open a support request.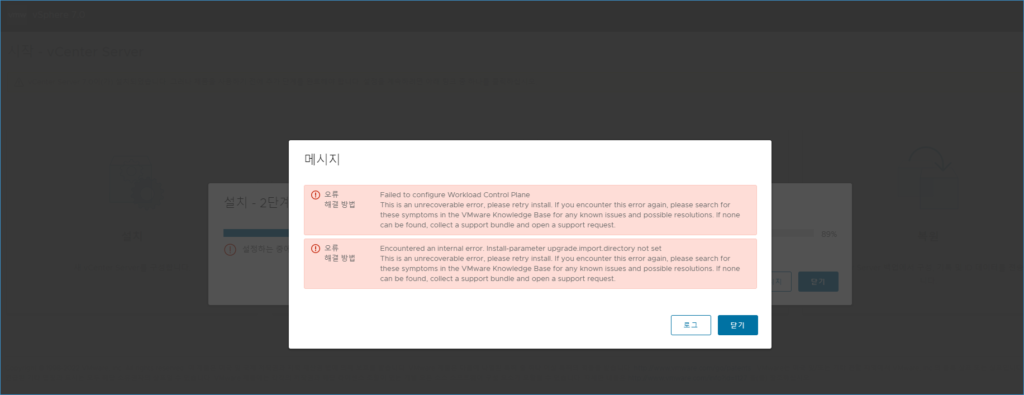
설정하는 중에 문제가 발생했습니다. 서비스가 예상대로 작동하지 않을 수 있습니다.
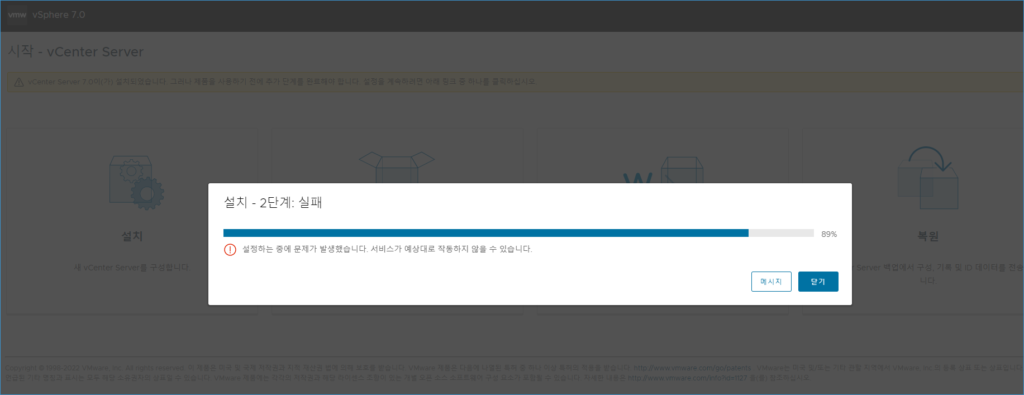
괜히 건드려서 시간만 더 낭비했습니다.
61%에서 계속 멈춘거 같아서 한 5~7번 정도 더 설치한듯합니다.
모든 세팅은 똑같이 했는데 이번에는 성공해서 넘어갔습니다.
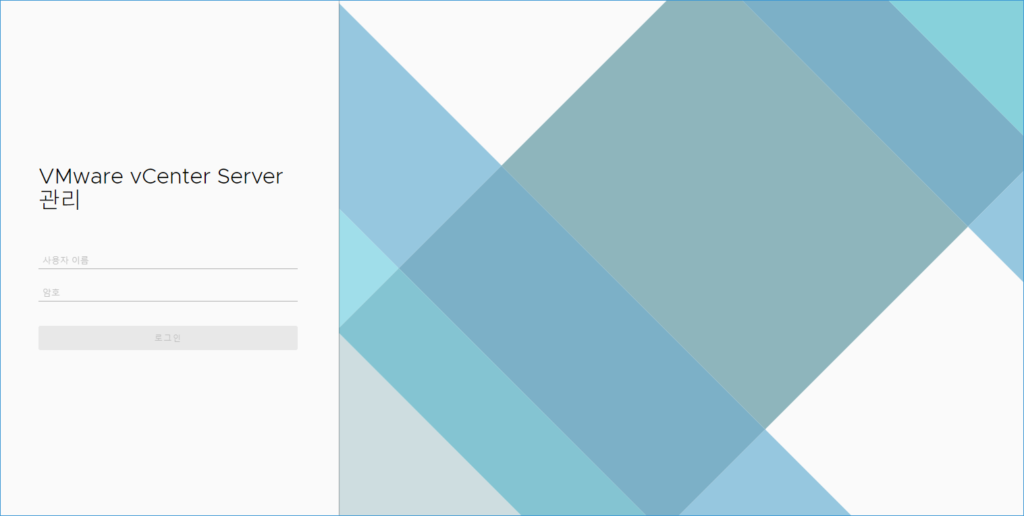
세팅할때 접속 아이디 만든 SSO 계정앞에 administrator@SSO계정 이렇게 적고 암호 적어서 로그인합니다.
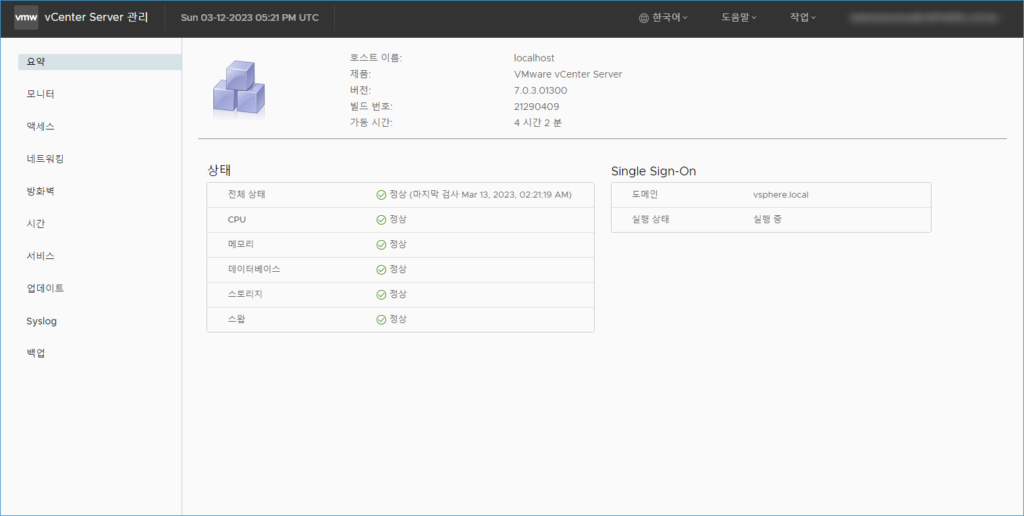
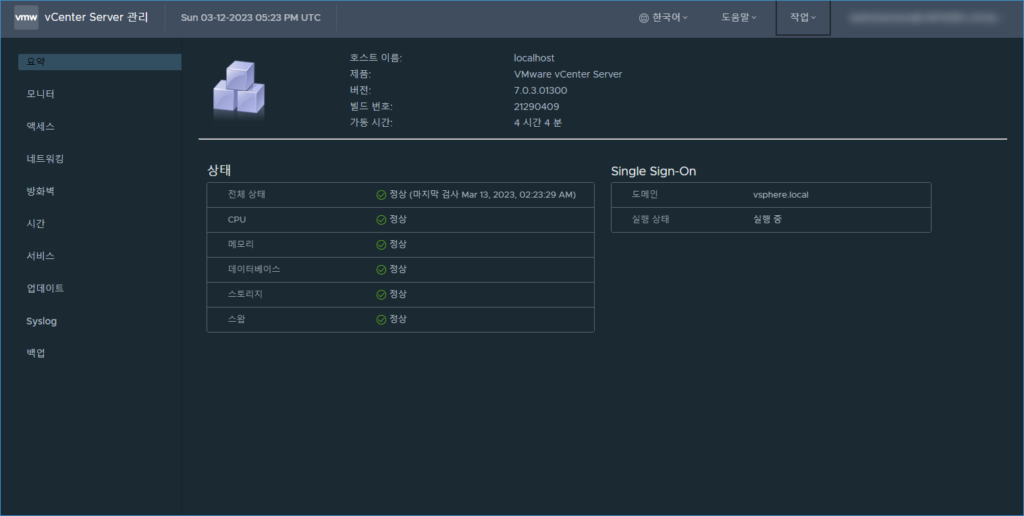
테마가 2가지 있네요.
낮버전, 밤버전
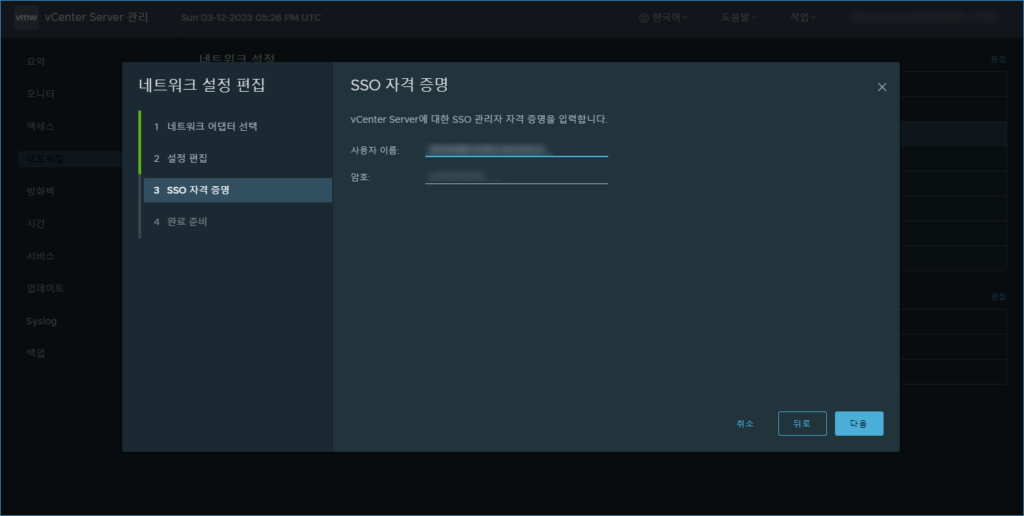
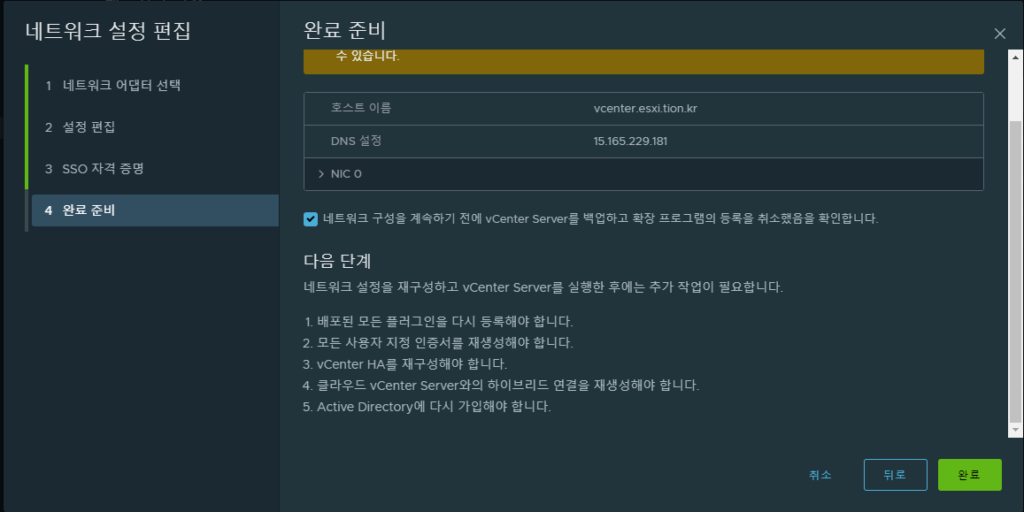
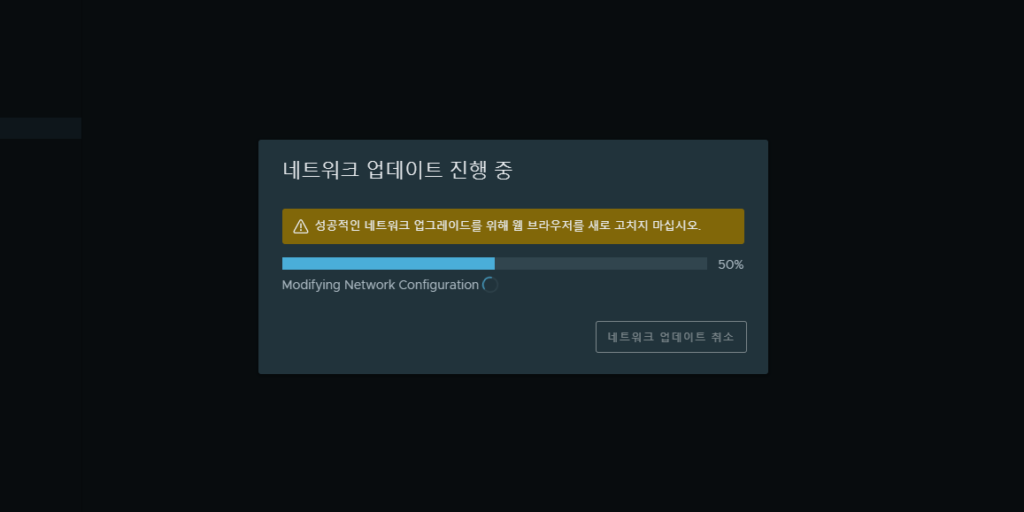
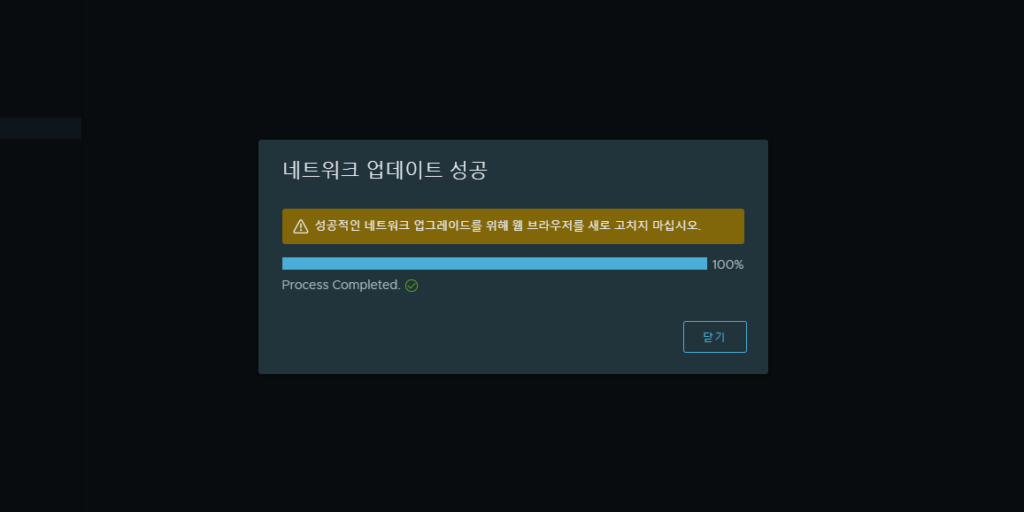
도메인 설정, 네트워크 설정, 접속 아이디 설정까지 완료하였습니다.
이제 80포트로 접속해보겠습니다.

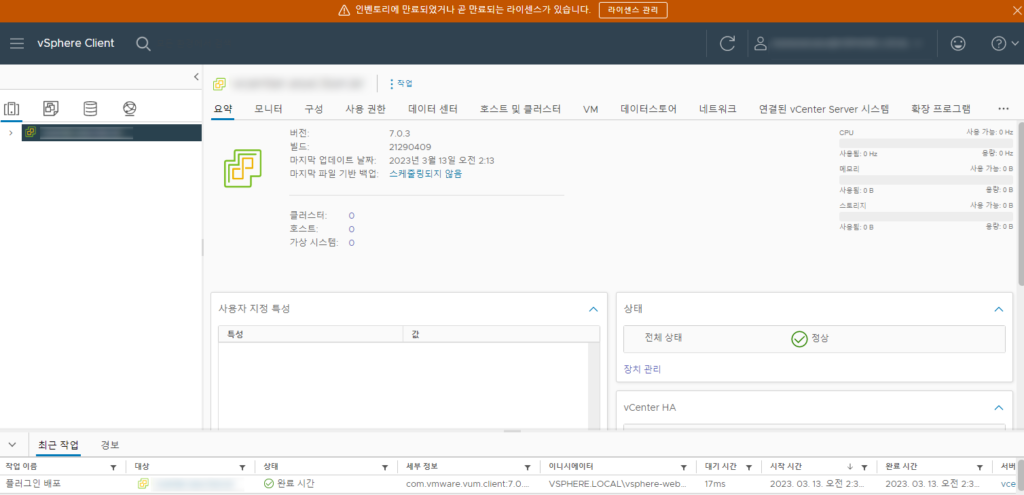
HTML 5 클라이언트로 접속합니다.
목차